


Users learn and build habits by interacting, so here's how to make that happen
Last week we announced new triggers functionality that allows you to interact with your users based on actions they’ve just taken in your product. Think contextual product interactions! In this post, we’ll be walking you through 4 ways to use these triggers to better engage with your users.
Not all users are created equal. Some users might require more hand-holding when they first start using your product, while others may prefer to explore on their own and skip any product tours altogether.
With Chameleon, you can let users choose their adventure, not just during their onboarding, but throughout their lifecycle. This helps them continue to adopt new features and become more deeply engaged.
Here are 4 ways you can build more interactive product tours to help users adopt your product and become successful users, no matter where they are in their customer journey.
1. Drive adoption of advanced functionality 🔎
To get users adopt more advanced product functionality you should tailor product tours to help users (1) discover these features and (2) understand the potential value to them.
However, not every user is ready for this, especially if they haven't mastered basic functionality. As you build product tours, consider which users are ready to invest more (hint: those that are already succeeding).
Below are two ways you can use Chameleon to help users adopt advanced features:
Use a hotspot to highlight an advanced feature
A hotspot (beacon / pulser) is a pulsating dot that can be attached to any element on your product’s interface. This a good way to capture a user’s attention without breaking their flow or current intention. By clicking (or hovering) on the hotspot a user can get more details on that feature and begin to engage.
🏗️ HOW TO BUILD: An interactive hotspot
- Create a step with content around the feature you will be highlighting
- In the Triggers menu, select to show step: on-click or on-hover and select Hotspot.
- Select which element you want the hotspot to appear next to and adjust position if necessary by clicking Adjust button
Use a click action to educate users on complex features after they discover them
For users that discover your more advanced features, supplement their understanding with some tips and tricks on best practices. This can be in form of text, image or video.
🏗️ HOW TO BUILD: an education modal when a user clicks on an advanced feature
- Create a step with content around the feature you will be highlighting
- In the Triggers menu, select to show step: on-click and select Existing element
- Select the element / feature on the page the user must click to trigger the step to show
2. Congratulate users on completing key actions 🎉
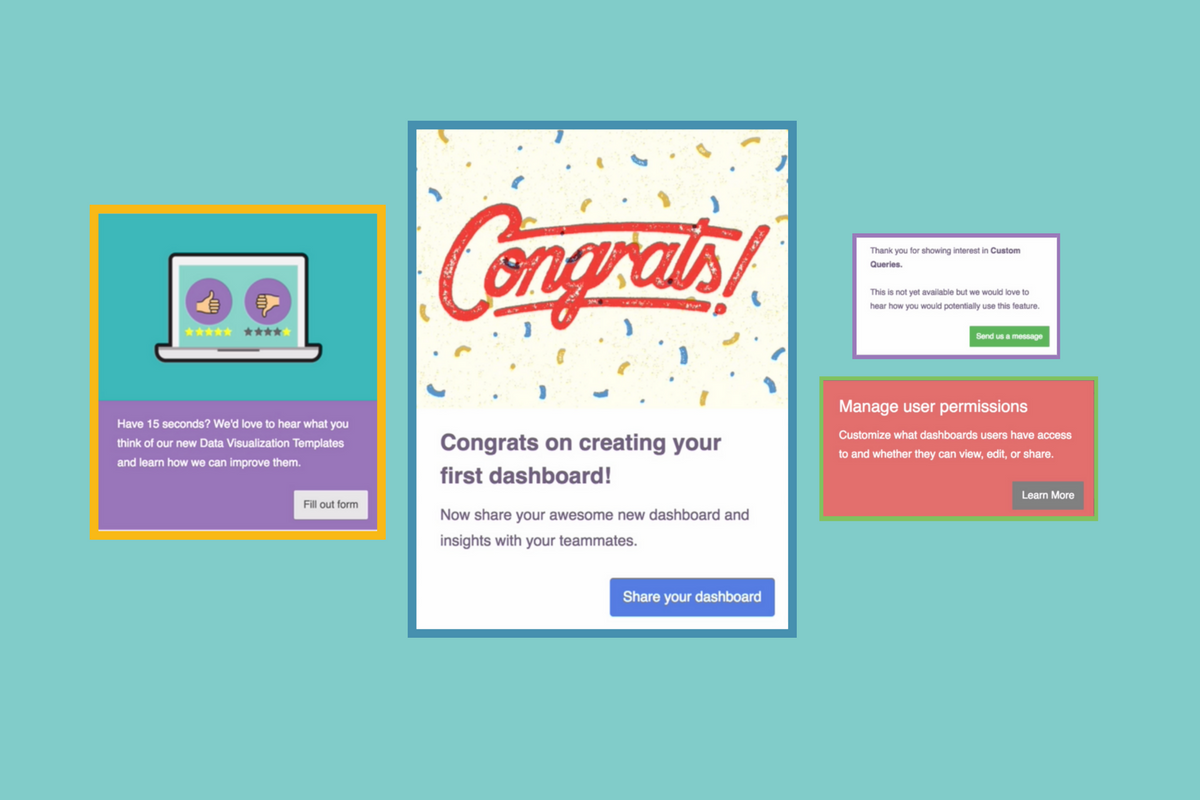
One of the simplest ways to increase motivation in your users is by congratulating them for accomplishing key actions or adopting new features in your product. By congratulating them you are supplying them with motivation and excitement to continue to explore and begin building a habit with your product.
The key is to congratulate users after an action, after which they may need to invest a little more time and energy to fully succeed.
With Chameleon, you can congratulate users by using our out-of-the-box delight features that rain confetti 🎉 or hearts ❤️ behind a tour step. You can also design your own congratulatory message.
🏗️ HOW TO BUILD: a congratulatory message after a user completes a key action
- Create a step with content congratulating the user
- In the Triggers menu, select to show step: on-click and select Existing element
- Select the element on the page the user must click to trigger the congratulations message
- To enable the falling confetti, go to Focus menu and under Delight dropdown select Confetti
3. Get instant feedback on new features 📊
A great time and place to get feedback on a specific feature is after a user has experienced it, while they have context. Chameleon can help you do this inside your product, prompted by a user action, without any developer input!
With our Typeform integration, you can show surveys and polls from Chameleon tour steps. Use this to request feedback from users as they try stuff out!
🏗️ HOW TO BUILD: an in-product survey
- Create your survey or poll within Typeform and copy the URL found in the 'Share' tab
- Using Chameleon, create a step with a call-to-action button asking users to take your microsurvey
- From the Trigger menu, use the On-click and Existing element actions, and select the element (feature) on the page that you want to trigger the microsurvey
- In your Chameleon product tour step, click the CTA button to configure it and in the Launch action from button dropdown select Launch Typeform
- Configure the Typeform by adding the Typeform URL of the survey and your display style (full screen, right-hand or left-hand side)
In just a few steps you can quickly begin getting instant feedback from your users. It’s THAT EASY! 🙌
For more details on how to enable the Typeform integration, check out our Typeform integration user guide and if you are looking for other ways to incorporate Typeform survey’s check out the post on 21 ways Typeform uses Typeform.
4. Upsell users to gated features 🎯
If you have different plans with different features available, you can use Chameleon to prompt users to consider upgrading. You can target all those qualified to upgrade, or display a product tour when a user actively shows interest in a higher-plan feature.
For example, if a user hovers or clicks on an unavailable (but displayed) feature, you can trigger a message educating them on the value and drive them to upgrade their plan.
Alternatively, if gated features are not automatically displayed within your product, you can use Chameleon to overlay a custom image (to mimic the feature) and show more information when a user discovers it.
This can also be a great way to do “fake door” tests -- showing features that are not yet built to gauge interest. You can even combine with a survey or launch an Intercom chat to learn more about what users would expect and want from a new feature.
🏗️ HOW TO BUILD: a custom icon to gauge interest on a potential feature
- Create a step with content around the "fake door" feature you want to test
- In the Triggers tab, select to show step: on-click or on-hover and select Custom icon.
- Upload your custom image and select where to position it (snapped to any element on the page)
- In the step you created earlier, click on the button to configure it and in the Launch action from button dropdown select Launch Intercom - this will launch the Intercom chat when a user clicks on the button
- You can add prefilled text for the users to make it easier for them to start the conversation
This could also be a great place to A/B test your feature value prop by trying out different messaging and call-to-actions.
Try creating more contextual interactions in your product
These are just 4 examples of how you can leverage our new trigger functionality to better interact with your users. But there are many more!
If you have great use cases on how you use triggers in your product we’d love to hear about it! Please share any ideas or examples in the comments below. 👇


